Harness Design Tool
The Harness Design tool is located on the left side panel with the icon:
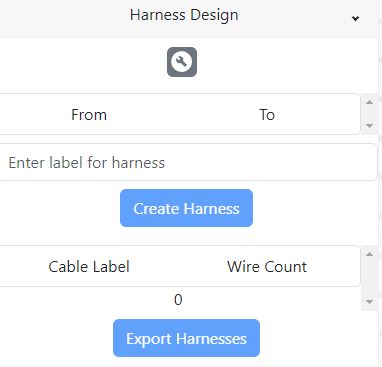
To get started, open up the harness design panel by clicking on this icon. You'll be presented with a panel that contains a few items:
Harness Designer Layout
Toggle Button
The button with a wrench icon enables the designer tool. Clicking this will enable the tool, and clicking it again will toggle the tool off and any unsaved wire selections within the tool will be lost.
Wire Selection Table
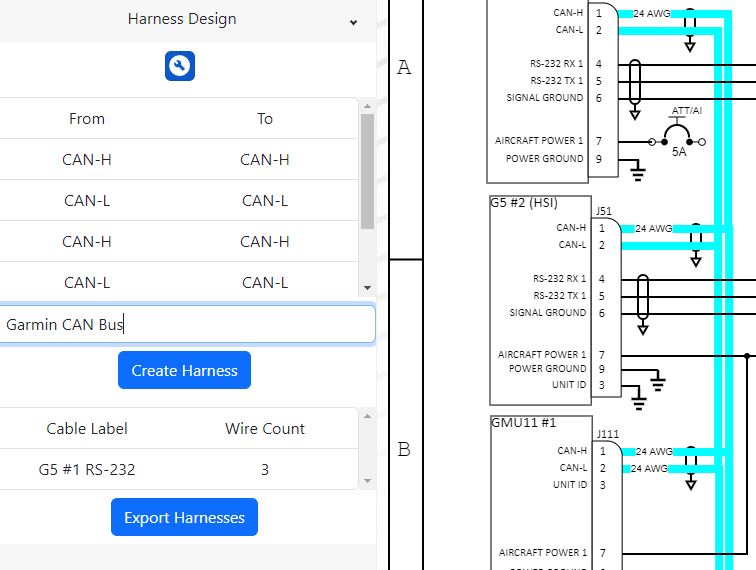
A wire table is displayed which shows the wires that have been selected with this tool. The From and To columns define the input and output of the
given wire.
Harness Label Input
When creating a new harness or updating an existing harness, you can specify the harness name / label with this field.
Create Harness button
Once done selecting the wires to be included in your harness, clicking the Create Harness button will save the harness and the selected wires.
Harness Table
A table of your existing harnesses is displayed with the label and wire count for each harness. To edit an existing harness, click the entry in the table and modify
the harness as you did when initially creating it. The Create Harness button becomes Update, allowing you to finalize your updates when complete.
Export Harnesses
The harness designer will display your generated harness images in new windows, please be sure to disable pop-up blockers.
The export button will generate your harness diagrams for all of the harnesses in that table. They will pop open in another tab, so be sure to not have pop-up blockers enabled and configure your browser to allow SkyWire Studio to provide pop-ups.

Getting Started

Selecting Wires
To define a harness, you need to select wires to be included in the harness. To select a wire, hover over the desired wire and left click once. Click again to remove the wire from the selection table. There are a few strategies to defining your harnesses:
Treat twisted pair or N-conductor cables as a harness
Some users choose to break down their interconnects by cables, rather than harnesses (or groupings of cables). In this way, you may decide to create a harness for each cable. For example, an RS-232 twisted pair would have RX/TX wires and possibly a signal ground.
Harness by Connector
Some may wish to define their harnesses by conductor in a more traditional sense of a harness. This is a great way to break down large, complex interconnects into smaller digestable pieces for technicians.
Label your harness
With your wires selected, now you must label your harness before creating it. Specify a label in the input field.
Create and Export
With the wires selected and a label specified, now you can Create Harness and Export Harnesses to generate the images.
